DIY Sprinkler Valve Replacement vs. Calling a Pro: How to Decide in Plano
A sprinkler zone that will not shut off, or will not turn on at all, usually points to a failed valve. The good news: DIY valve replacement is a realistic weekend project for many Plano homeowners, and knowing the steps of this DIY valve replacement guide helps you decide whether to do it yourself or hand it to a pro. This guide walks through the full process, step by step, and flags the exact points where a job tends to go sideways in North Texas clay soil. By the end, you will know whether your situation is a Saturday fix or a phone call.
One number worth keeping in mind before you decide to ignore a bad valve: a household with an automatic landscape irrigation system that is not properly maintained can waste up to 25,000 gallons of water annually, according to U.S. Environmental Protection Agency (EPA WaterSense). A stuck-open valve is one of the fastest ways to get there.
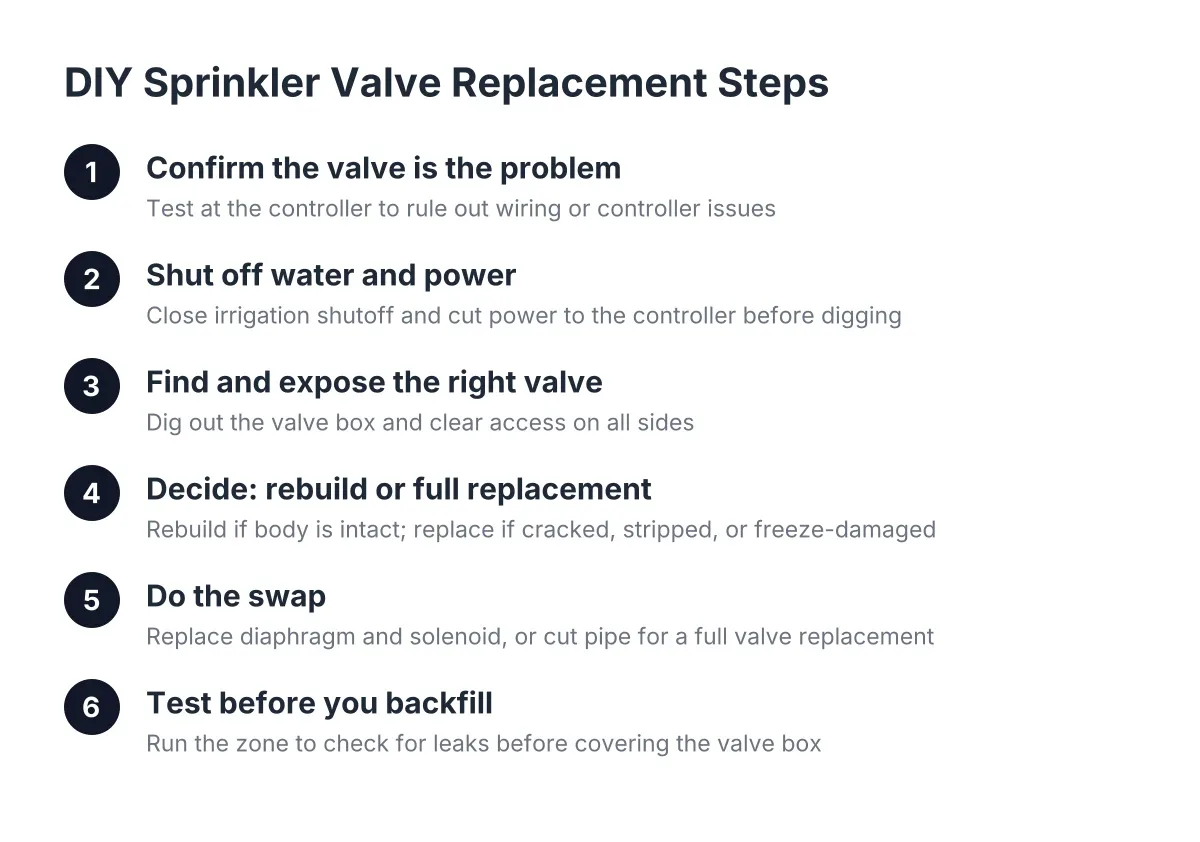
Step 1: Confirm the Valve Is Actually the Problem
Before you dig anything up, make sure the valve is the failure point and not the controller. The test is simple. Turn the zone off at the controller, or switch the controller off entirely. If water keeps running in that zone, the controller is not the issue; a valve is stuck open. That is a valve problem, full stop.
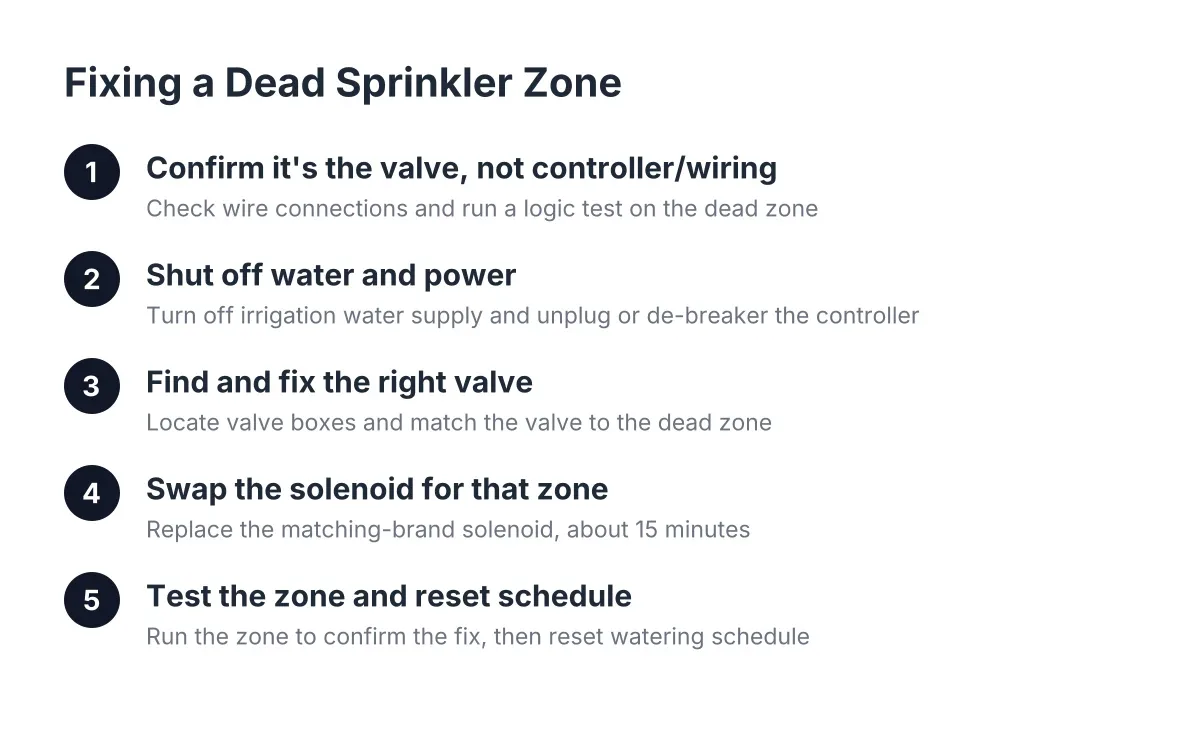
A zone that never comes on could be the valve, the controller, or the wiring. Run the zone from the controller and listen at the valve box. A faint click with no water flow often means the solenoid fires but the diaphragm inside the valve has failed. No click at all points toward wiring or the controller itself.
If your controller is old, this is also the moment to consider upgrading it rather than chasing valve problems one at a time. Replacing a clock-based irrigation controller with a WaterSense labeled irrigation controller can cut an average home's irrigation water use by up to 30 percent, saving up to 15,000 gallons annually, according to U.S. Environmental Protection Agency (EPA WaterSense). Sprinkler system controller replacement is a separate job from valve work, but the two often get bundled into one spring tune-up visit.
Step 2: Shut Off the Water and the Power
Never open a sprinkler valve with the system pressurized. Shut off the water supply to the irrigation system first, usually at a shutoff valve near the backflow preventer or at a separate irrigation shutoff near the meter. If you are not sure how to turn off a sprinkler system at your house, find the irrigation shutoff before you buy a single part. In Plano, it is often in a round box near the front curb or beside the backflow assembly.
Next, cut power to the controller. Unplug it or flip the breaker. Valve solenoids run on low voltage, but working on live wires while kneeling in a wet valve box is a bad habit. Two minutes of shutoff work prevents a face full of water and crossed wires.
Open one zone manually for a minute to bleed off remaining pressure. Then you are safe to dig.
Step 3: Find and Expose the Right Valve
Locate the valve box for the problem zone. In most Plano yards, valves sit in green rectangular boxes near the house, along a flower bed, or grouped in a manifold near the backflow. If you cannot match a valve to a zone, trace the wire colors back to the zone terminals at the controller, or manually open each valve until the problem zone runs.
Dig out around the valve box carefully. North Texas clay holds water and swells, so boxes often sit lower than when they were installed, with roots and mud packed around the valve. Clear enough room to work on all sides of the valve, not just the top. Cramped access is where most DIY attempts stall.
Take a clear photo of the valve before you shop. Matching the brand and model, or at least the size and configuration, saves a second trip to the store and helps you buy the right solenoid or diaphragm kit.
Step 4: Decide Between a Rebuild and a Full Replacement
Here is the decision that separates an hour-long fix from a half-day dig. Many "failed" valves do not need full replacement. The solenoid and the diaphragm are the two parts that fail most often, and both can be swapped with the valve body still in the ground. This is how you replace a sprinkler valve without cutting any pipe.
Use this quick guide:
- Rebuild it in place if the valve body is intact and the problem is a weeping zone, a zone that will not open, or a solenoid that does not click. New diaphragm, bonnet, and solenoid parts are inexpensive, and since you are opening the valve anyway to check for debris, it makes sense to replace all three at once.
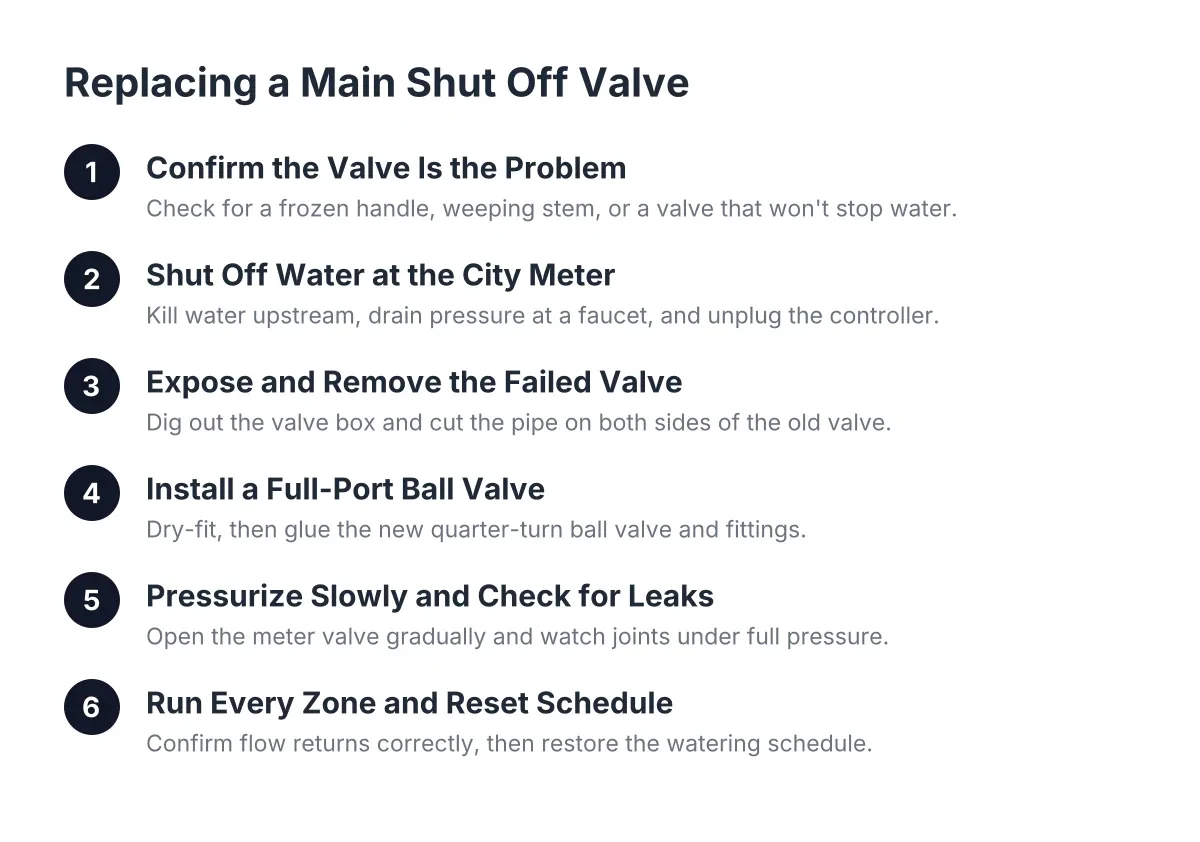
- Replace the whole valve if the plastic body is cracked, the threads are stripped, the valve is an obsolete model with no parts available, or a freeze split the housing. Freeze damage is common in Plano after a hard cold snap, especially on valves and backflow preventers that were never winterized.
- Call a sprinkler system contractor if the valve sits in a buried manifold with several valves packed tight together, if the pipes are glued in with no slack, or if you cut the pipe and cannot get a clean, dry joint.
One caution on rebuilds: remove the valve cover screws by hand with a screwdriver, not a power drill. Too much torque cracks the plastic valve body, and that turns a simple parts swap into a full dig-out and sprinkler valve replacement.
Step 5: Do the Swap
For a rebuild, unscrew the solenoid, lift the bonnet, and pull the old diaphragm. Check inside the valve for grit, pebbles, or clay sediment; debris under the diaphragm is a common cause of a zone that will not fully close. Rinse the body, seat the new diaphragm, replace the bonnet, and thread on the new solenoid snugly by hand. The process is essentially the same across valve brands, so do not panic if your replacement parts look different from the originals.
For a full replacement, cut the pipe on both sides of the old valve, dry-fit the new valve with couplings, then glue the joints with primer and PVC cement. Point the new valve the same direction as the old one; flow arrows matter. Let the glue cure per the label before pressurizing. Rushing cure time in cool spring weather is the most common reason a new joint leaks.
Reconnect the valve wires with waterproof wire connectors made for direct burial. Then wrap each sealed splice with electrical tape for an extra layer of waterproofing. Underground splices sit in wet clay for years; a bare wire nut will corrode and give you a dead zone next season.
Step 6: Test Before You Backfill
Do not bury anything yet. Turn the water back on slowly and watch the new valve and every glued joint under pressure for several minutes. Then power up the controller and run the zone twice from the panel. Confirm the zone opens, runs at full pressure, and shuts off completely when the cycle ends.
While the zone runs, walk the yard and check the heads. A valve repair is a good excuse for a quick sprinkler head adjustment, since clay soil shifts heads out of alignment over the winter. If a head is cracked or stuck, sprinkler head replacement at the same time saves you a second project.
Once everything holds, backfill around the valve box and set the lid flush with the grade. If the open box bothers you visually, there are practical ways to cover sprinkler valves: a flush-set box lid, a thin layer of mulch, or a low ground cover. Never bury the lid under soil, because you or the next tech will need to find it again.
DIY Valve Replacement Guide: When It Makes Sense, and When It Does Not
DIY valve replacement makes sense when one accessible valve has failed, the body is intact or easy to cut out, and you are comfortable with basic PVC and low-voltage wiring. It stops making sense when valves sit in a tangled manifold, wiring will not test clean, multiple zones misbehave at once, or freeze damage reaches the backflow preventer.
Say a homeowner in Plano opens the March water bill and finds it doubled, then notices one zone seeping day and night. In that scenario, a single stuck valve with good access is a reasonable solo project. Suppose instead three zones act up, the manifold sits under a shrub, and the wire splices crumble on contact. That job rewards a pro who carries the parts, knows the local freeze patterns, and can test the whole system in one visit.
There is a real trade-off either way. DIY saves the service fee but risks a cracked valve body, a leaking joint, or a misdiagnosis that wastes a weekend. Professional sprinkler valve replacement costs more up front, but the visit usually includes checking the backflow, the controller schedule, and the other valves while the system is open. Backflow work in particular is worth leaving to a professional, since it protects your drinking water and local rules apply to it.
Well-managed systems also pay you back over time. If a household's irrigation system is well managed, irrigation water use can drop by 15 percent, or nearly 7,600 gallons annually, according to U.S. Environmental Protection Agency (EPA WaterSense). For a Plano yard running under summer watering restrictions, that is the difference between a schedule that works and one that wastes every allowed watering day.
FAQ: Quick Answers Before You Start
How long does DIY valve replacement take?
A DIY valve replacement takes about one to two hours for a solenoid or diaphragm rebuild, and three to five hours for a full valve cut-out, as rough estimates. Glue cure time, cramped valve boxes, and Plano's dense clay soil are the usual reasons a job runs long. Plan for a full morning either way.
Can I replace a sprinkler valve without cutting the pipe?
Yes, in many cases you can replace the working parts of a sprinkler valve without cutting any pipe. The solenoid and diaphragm handle the opening and closing, and both unscrew from the valve body in the ground. Cutting is only required when the plastic body itself is cracked or the model is obsolete.
When is the best time to deal with a bad valve in North Texas?
The best time to fix a failed valve in North Texas is during spring startup, before summer watering begins. A spring sprinkler tune up catches stuck valves, freeze-cracked bodies, and backflow damage while the lawn can still forgive a few dry days. Waiting until July means diagnosing problems while your grass suffers.
If you search for sprinkler valve replacement near me after reading all this, that is a fair outcome too. Knowing the steps means you can describe the problem accurately, understand the quote, and judge whether the fix matches what is actually broken. That is the whole point of doing the homework first.
If you need sprinkler valve replacement, North Dallas Sprinkler Repair can help.
Prefer to talk it through? Call (469) 639-1022 — a quick call is usually the fastest way to get a straight answer for your situation.