DIY French Drain vs. Professional Installation: What Plano Homeowners Should Know
If standing water keeps showing up in your yard after every rain, you have two paths: dig the trench yourself or hire it out. When deciding between a DIY and professional French drain, the choice comes down to slope, soil, and where the water exits. This guide walks through both paths step by step, so you can decide which one fits your yard, your weekend, and your back. We work in Plano's heavy clay soil every week, and that clay changes the math on this project more than most online guides admit.
A French drain is a gravel-filled trench with a perforated pipe at the bottom. Water soaks into the gravel, enters the pipe, and flows downhill to an exit point. Simple in theory. The hard parts are getting consistent slope in clay, protecting the pipe from silt, and finding a legal, workable place for the water to go. Follow the steps below and you will see exactly where DIY works and where a pro earns the fee.
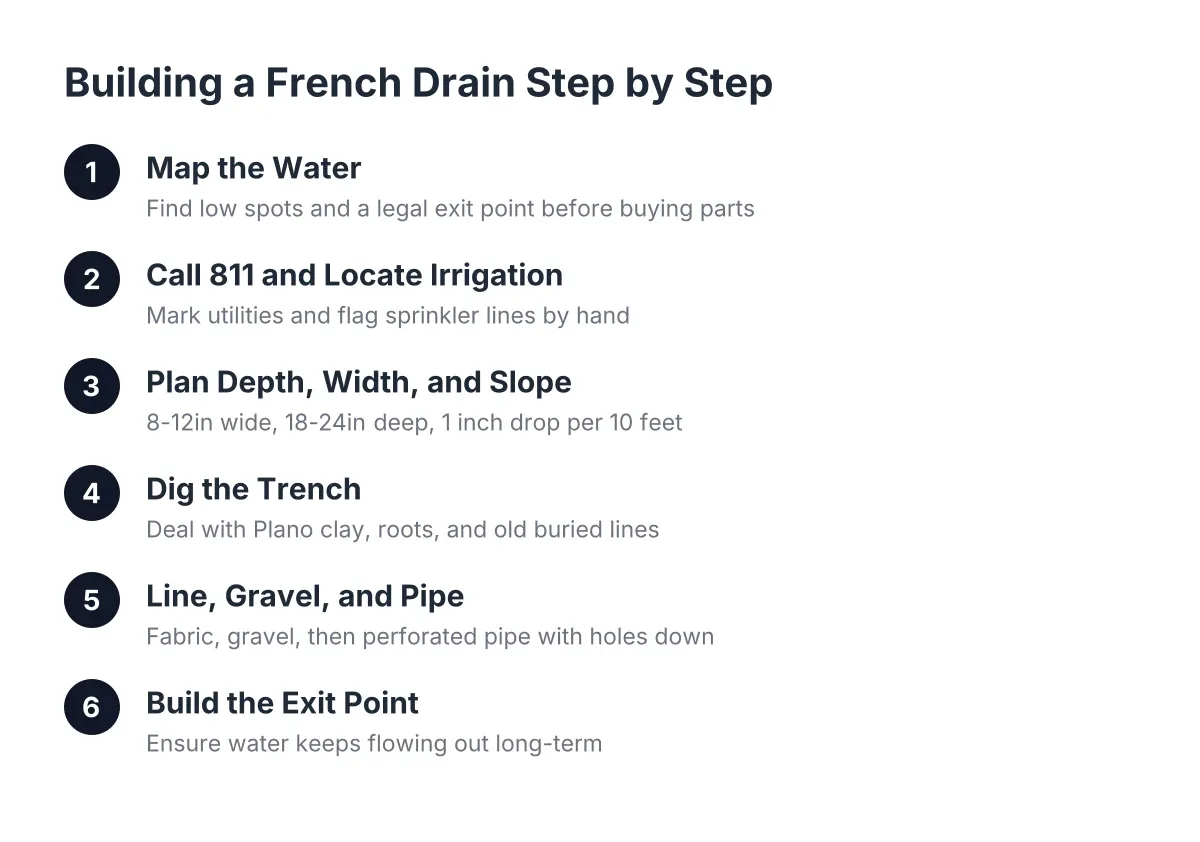
Step 1: Map the Water Before You Buy Anything
First, figure out where water collects and where it comes from. Walk the yard during or right after a heavy rain. Mark the low spots, the soggy strips along the fence, and any water pooling against the foundation. Take photos with your phone so you have a record when the ground dries out.
Next, identify your exit point. A French drain only works if the water has somewhere lower to go. Common exit points include the street gutter, a swale along the property line, or a pop-up emitter in a lower section of lawn. If your yard has no spot lower than the problem area, a basic gravity drain will not solve it, and that is a strong sign to bring in a professional before spending money on parts.
This step is where many DIY projects fail before the first shovel of dirt. A french drain kit for yard drainage comes with pipe and fabric, but it cannot tell you whether your yard actually falls one inch for every ten feet of trench. That slope is the whole system.
Step 2: Call 811 and Locate Your Irrigation Lines
Before any digging, call 811 to have buried utilities marked. It is free, and in Texas it is required before excavation. The markings cover gas, electric, cable, and water service, but they do not cover your private lines.
That matters because your sprinkler system is not on the 811 map. Most established Plano homes have irrigation pipe and valve wiring running through the exact areas where drainage trenches go, usually along the foundation and property edges. A trench cut through a lateral line turns a drainage project into a sprinkler repair job on the same day.
Here is how to reduce that risk:
- Run each sprinkler zone and flag every head near the planned trench path.
- Locate your valve boxes; wiring usually runs from the controller to those boxes in straight lines.
- Dig by hand, not machine, anywhere within two feet of a flagged head or valve box.
- If you hit a pipe, stop, note the zone, and cap it before water saturates your trench.
Trenching machines and vibratory equipment can also crimp a PVC irrigation line without cutting it clean through. The zone still runs, just weakly, and the damage hides underground. This is one reason crews who do both French drain installation and irrigation repair map sprinkler lines before cutting a single trench.
Step 3: Plan the Trench Depth, Width, and Slope
Plan a trench 8 to 12 inches wide and 18 to 24 inches deep for most yard drainage problems. Deeper trenches, down near the footing, belong to foundation drainage and are not a weekend project.
Slope is the number that makes or breaks the system. Aim for a drop of about one inch for every ten feet of pipe, held consistently from start to exit. In North Texas clay, this is harder than it sounds. Clay holds its shape when you dig, which hides small humps and dips that would be obvious in sandy soil. A single flat or back-sloped section lets silt settle, and silt is what kills French drains over time.
Use a string line with a line level, or a long straight board with a level taped to it. Check slope every few feet as you dig, not just at the end. Professional crews often use a laser level for this, which is one of the quiet advantages on the pro side of the DIY versus professional French drain decision.
Step 4: Dig the Trench and Deal With the Clay
Now the labor. Suppose a homeowner near Legacy and Coit plans a 50-foot drain along a side yard. In loose soil, that is a hard Saturday. In Plano clay after a dry August, it can take a rented trencher, two people, and most of a weekend, and the trencher still cannot work close to sprinkler heads. Budget your time honestly.
As you dig, keep the trench bottom smooth and sloped, not stair-stepped. Pile the clay spoil on a tarp; you will not reuse most of it, and hauling it off is its own chore. Expect roughly one cubic yard of spoil for every 25 to 30 feet of trench at these dimensions, as a rough estimate.
In addition, watch for surprises. Old irrigation pipe, abandoned cable, and roots from established trees all show up in 15 to 25 year old Plano yards. Each one costs time, and roots near the trench may need cutting decisions you did not plan for.
Step 5: Line With Fabric, Add Gravel, and Set the Pipe
Line the entire trench with non-woven geotextile fabric, leaving enough extra on each side to fold over the top later. This fabric is the barrier that keeps clay fines out of your gravel. Skipping it, or using cheap woven landscape fabric, is the most common shortcut that shows up as a clogged drain three to five years later.
Then add 2 to 3 inches of washed drainage gravel to the trench bottom. Set the perforated French drain pipe on the gravel with the holes facing down. Water rises into the pipe from below; holes-up pipe leaves standing water in the bottom of the trench.
Cover the pipe with more gravel to within a few inches of the surface, fold the fabric over the top like a burrito, and cap with soil and sod or decorative rock. Before you backfill fully, run a hose at the high end and confirm water reaches the exit point. Test now, while fixing a flat spot means moving gravel, not rebuilding the trench.
Step 6: Build the Exit Point So It Keeps Working
Finish the drain with an exit that stays open year round. A pop-up emitter should sit slightly lower than the trench outlet and pop open under flow. A daylight outlet at a curb or swale needs a rodent grate. Whatever you choose, the French drain exit point must sit lower than every section of pipe behind it, and it must discharge onto your own property or an approved outlet, not your neighbor's lawn.
Check local rules before routing water to the street. Plano, like most North Texas cities, has drainage provisions, and this is a spot where a quick call to the city or a contractor who works here saves a redo.
Where DIY French Drains Beat Professional Installation, and Where They Don't
A DIY French drain beats professional installation on cost and on short, simple runs: 20 to 40 feet, open lawn, clear downhill exit, no utilities in the path. If that describes your project and you can hold slope with a string line, doing it yourself is reasonable, and a french drain kit for yard projects covers the parts list.
However, professional installation wins when any of these apply:
- Water sits against the foundation, where depth and routing mistakes get expensive.
- The yard has no obvious low exit, so the design needs a sump, a longer route, or a different solution entirely.
- Sprinkler lines, valve wiring, or tree roots crowd the trench path.
- The run exceeds about 50 feet, where consistent slope in clay becomes genuinely difficult by hand.
There is also an honest trade-off on the pro side: searching for french drain installation near me will surface crews with laser levels and trenchers, but a professional job costs several times the parts-only price of DIY. What you pay for is design judgment, slope accuracy, and not cutting your own irrigation system in half.
A Quick DIY French Drain vs. Professional Checklist
Answer these five questions before you commit either way:
- Can you identify an exit point at least 10 inches lower than the problem area?
- Is the trench path clear of sprinkler heads, valve boxes, and major roots?
- Is the total run under about 50 feet?
- Does the water problem sit away from the foundation, out in the lawn?
- Do you have two full days and a helper?
Five yes answers, and DIY is a fair bet. Two or more no answers, and the professional route will likely cost less than a DIY attempt plus the repair work after it.
One Last Plano-Specific Note
Drainage and irrigation live in the same soil. A yard that stays wet is not always a drainage problem; sometimes it is a leaking zone or a buried drip line someone tapped into a spray zone years ago. According to U.S. Environmental Protection Agency (EPA WaterSense), a household with an automatic landscape irrigation system that isn't properly maintained can waste up to 25,000 gallons of water annually. Some of that water ends up as the soggy spot you are about to trench through.
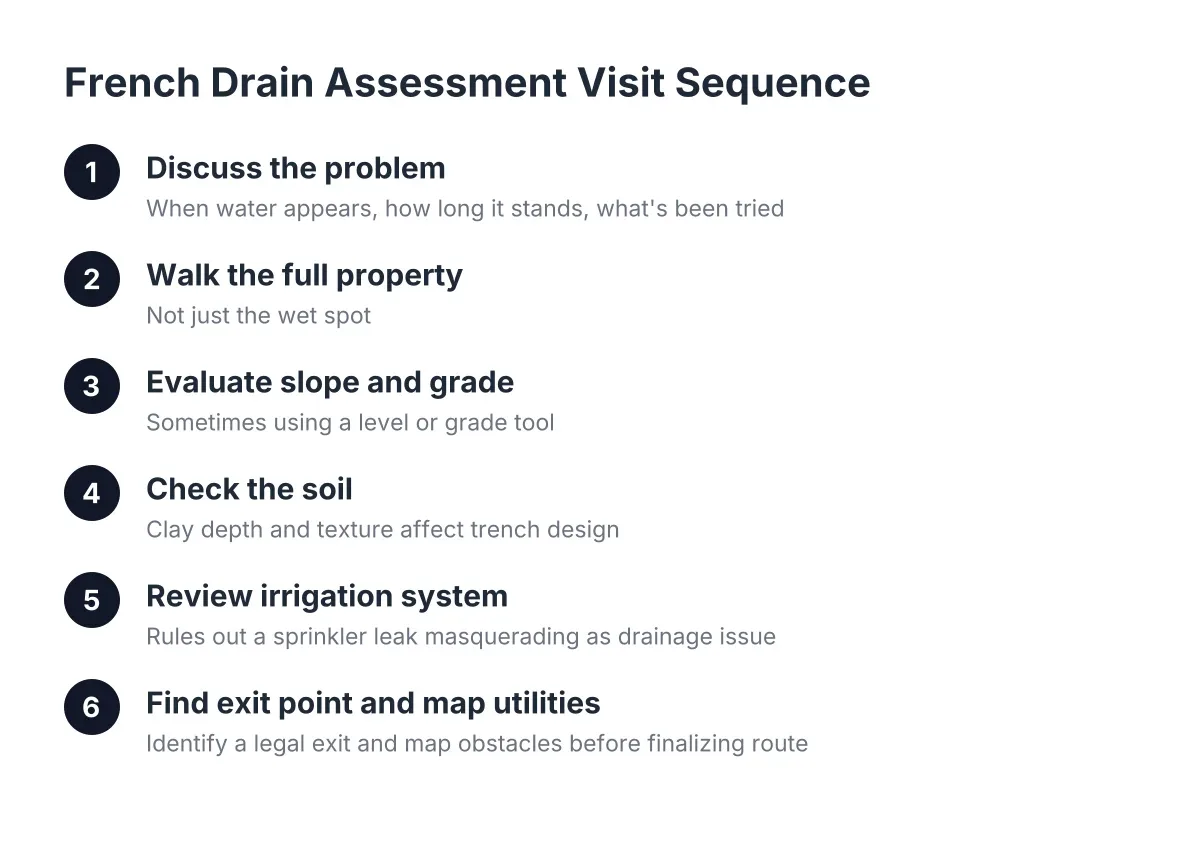
Therefore, before you dig, run every zone and watch for heads that bubble, spray wrong, or stay wet long after shutoff. Fixing a leak first may shrink the drainage problem, or at least confirm the trench is solving the right one. If you are unsure which problem you have, that diagnosis is worth a professional visit on its own.
If you need french drain installation, North Dallas Sprinkler Repair can help.
Prefer to talk it through? Call (469) 639-1022 — a quick call is usually the fastest way to get a straight answer for your situation.